Last updated October 31, 2026
 Wrought iron
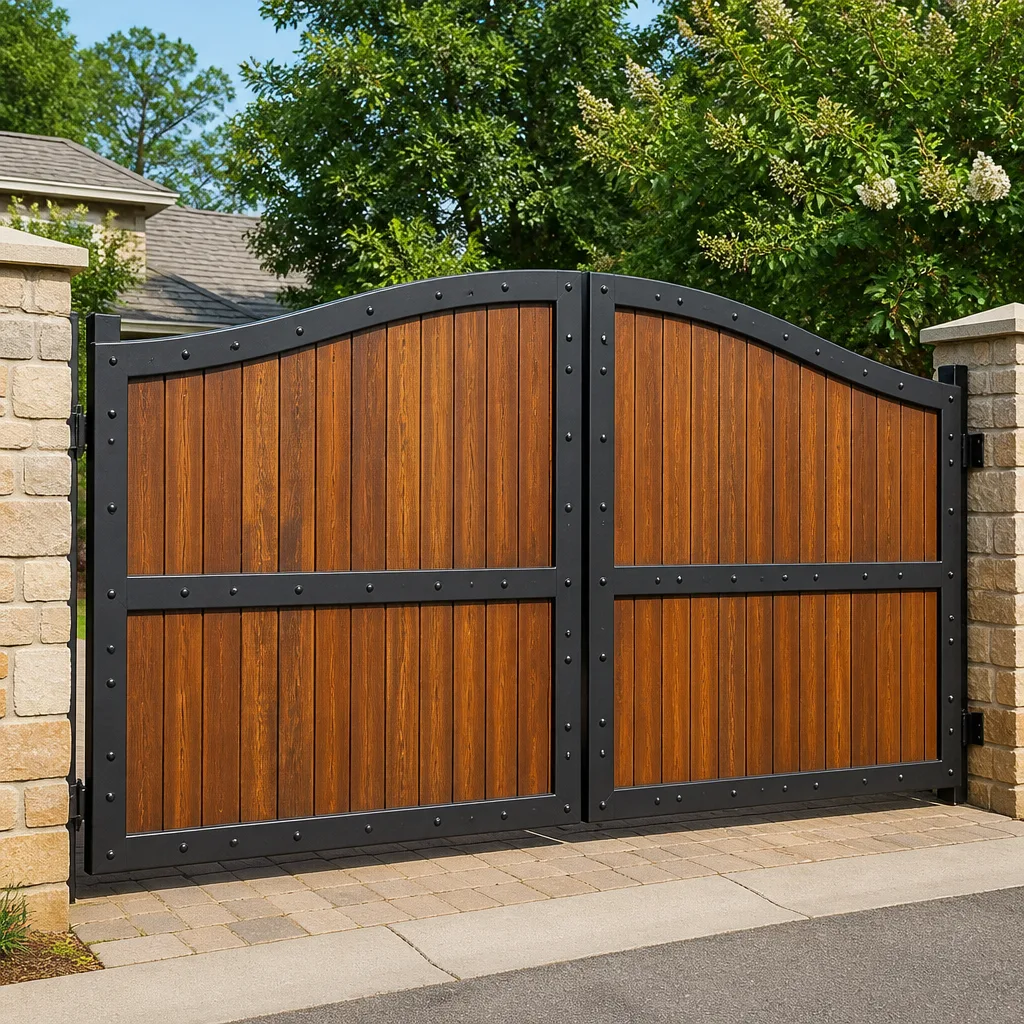 Wood & steel frame
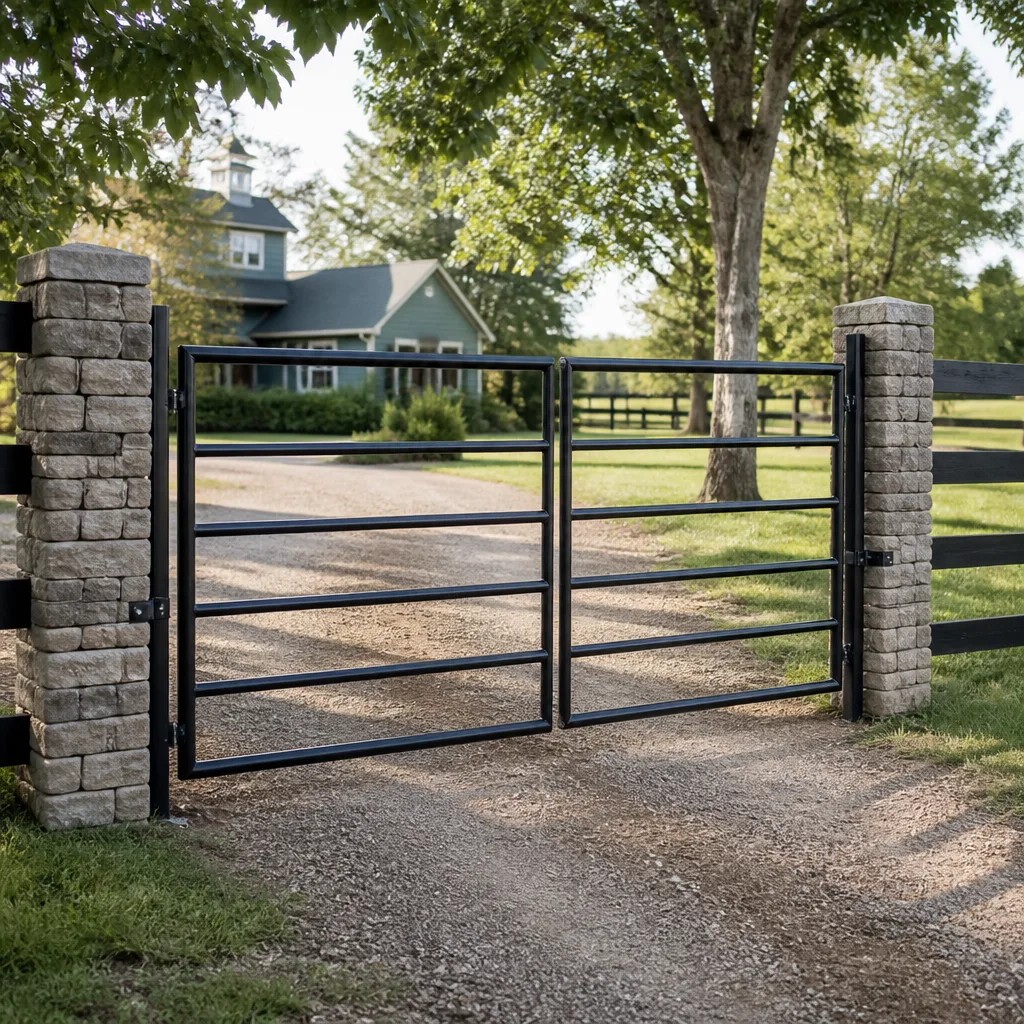 Farm & ranch
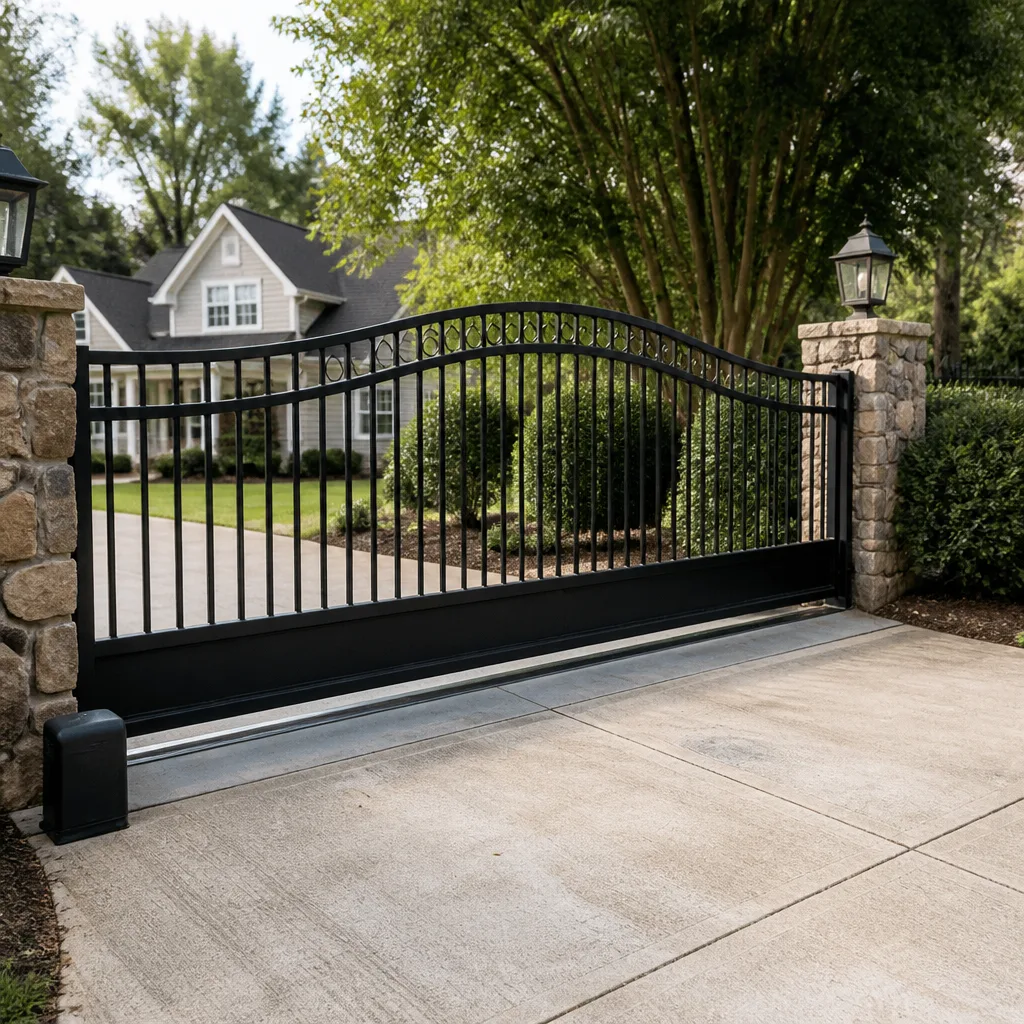 Sliding driveway gates
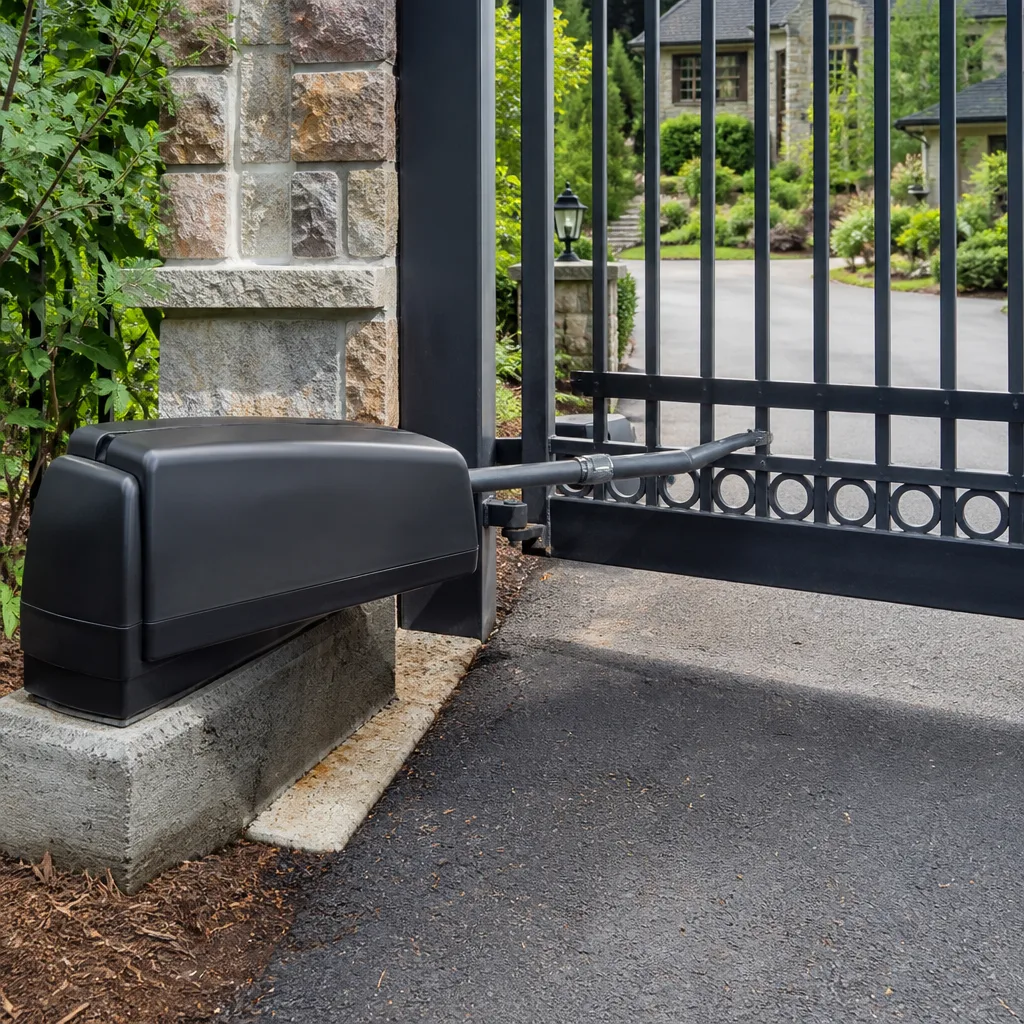 LiftMaster operators
Free on-site gate assessment - hinges, posts, and your LiftMaster or Nice gate operator checked before anything is quoted
The assessment is free and the quote is the invoice.
Get your free estimateDIY vs Professional Gate Repair: The Corona Homeowner’s Decision Guide
Here’s a number most Corona homeowners never hear: roughly one in three automated gate failures we’re called to fix involves damage from a previous DIY attempt. Not the original breakdown. The repair after the repair. The same person who wouldn’t touch a garage door spring will happily open a gate operator’s control board, rewire a loop detector, or weld a cracked hinge, and the result is often a gate that fails worse than before. This guide walks through what’s genuinely safe to handle yourself, what sits in the gray zone, and what crosses into legal, insurance, and safety territory you don’t want to own. For a deeper look at pricing, see our Gate Repair Cost Breakdown: The Corona Homeowner’s Reference for 2026. We’ve rebuilt enough gates across Corona’s neighborhoods, from the hillside estates off Green River Road to the flat ranch properties out Temescal Valley way, to know exactly where those lines sit.
Quick Answer
DIY gate repair is reasonable for lubrication, remote reprogramming, and minor hinge alignment, and a bad idea for anything involving electrical connections, structural welding, or entrapment protection sensors. In Corona specifically, unpermitted electrical work on gate systems creates insurance exposure under California code that turns a $400 saved repair into a $4,000 liability. When a repair involves 220V power, load-bearing welds, or safety sensors, hire a Gate Repair services specialist who can diagnose the brand on sight and fix it in one visit.
Styles & brands we work with
Table of Contents
- The Three-Category System: Safe DIY, Borderline, and Never DIY
- Why California Code Makes Gate Work Different From Other DIY Projects
- The Tool and Skill Threshold: What You Actually Need
- How a Bad DIY Repair Changes the Professional’s Job
- The Honest Cost Comparison: When DIY Saves Money
- Entrapment Protection: The Component That Changes Everything
- Brand-Specific Realities: Why the Operator Matters
- Common Mistakes to Avoid
The Three-Category System: Safe DIY, Borderline, and Never DIY
Most DIY gate advice online lumps everything together. That’s the first mistake. A Mighty Mule remote reprogram and a Viking control board replacement have nothing in common except they both involve a gate. Here’s how we break it down, based on what we see in Corona’s specific gate landscape, where summer heat kills capacitors and winter rain finds every corroded connection.
Category 1: Safe DIY Tasks
These are the tasks where a homeowner with a basic toolkit and the manual in hand can expect a successful outcome. They don’t involve mains electrical work, structural load, or safety sensor calibration.
- Hinge and track lubrication: A can of white lithium grease on the hinges and roller tracks, done every six months, extends hardware life considerably. Corona’s dry heat accelerates wear on un-lubricated metal.
- Remote control programming: Most LiftMaster, Mighty Mule, and Ghost Controls systems have a learn button or a simple button-press sequence. The manual’s instructions are adequate.
- Cleaning solar panels on solar-powered openers: Corona sun works in your favor, but dust from the Santa Ana winds coats panels and cuts charging efficiency. Wiping them quarterly is genuine DIY maintenance.
- Tightening visible bolts and checking gate sag: If your gate drags or scrapes, inspect the hinge bolts and the post brackets. A socket set will handle most loose hardware.
- Replacing keypad batteries: Five minutes. If the keypad still fails after fresh batteries, the keypad itself is the issue and that’s a cheap replacement, not a repair.
These tasks won’t void a warranty, won’t expose live 220V connections, and won’t leave you with a gate that fails closed at 7 a.m. on a weekday.
Category 2: Borderline DIY Tasks
These tasks sit in an honest gray zone. They’re technically possible for a careful homeowner, but the margin for error is narrow, and the consequences of getting it wrong range from an annoying redo to creating a dangerous gate that doesn’t reverse when it should.
- Limit switch adjustment: Setting the open and closed positions on a FAAC or BFT operator involves moving the gate to its travel extremes and tightening the limit cams or programming the positions in the board. It seems simple. But if the open limit allows the gate to slam against the post stop, the gate’s momentum can micro-fracture welds over time. If the closed limit doesn’t fully seat the gate in the latch, you get a gate that bounces and tears up the operator’s gears.
- Sensor alignment: Photo eye sensors, loop detectors, and edge sensors all need precise positioning. Aligning a photo eye that’s been knocked loose by a trash bin is one thing. Diagnosing why a sensor pair isn’t detecting a small child or pet is another thing entirely. This is where DIY stops being about convenience and becomes about liability.
- Gate track clearing and re-bedding: Sliding gates in Corona pick up debris from the wind. Clearing the track is easy. Re-bedding a cantilever roller truck that’s come out of alignment requires knowing the relationship between the roller positions and the gate’s center of gravity. Get it wrong, and the gate binds, the motor strains, and eventually the operator fails.
Category 3: Never DIY Tasks
These tasks should not be attempted by a homeowner, full stop. Not because the work is impossible to learn, but because the cost of error includes death, serious injury, code violations, insurance claims, or a gate that fails catastrophically.
- Any connection to line-voltage wiring: Operators run on 110V or 220V AC. In Corona, if you tap into an existing circuit or run a new one to the gate without a permit, you have an unpermitted electrical modification.
- Entrapment protection system installation or bypass: UL 325 requires entrapment protection on all automated gates. Bypassing a safety sensor because it’s “annoying” or “keeps tripping” is not a repair shortcut. It’s how children and pets get crushed. No DIY guide should ever advise bypassing safety equipment, and any site that does is telling you to break the law.
- Structural welding: A cracked weld on a steel gate frame or hinge post carries load. A poorly penetrated weld looks fine for months, then fails when the gate’s full weight and momentum hit it. When that gate falls, gates weigh 300 to 1,500 pounds.
- Operator replacement on a 220V circuit: Even if you buy the identical LiftMaster or FAAC board, installing it requires wiring the motor leads, capacitor, and safety circuit correctly. One reversed wire and the gate runs backward. One loose connection and the board arcs when the capacitor discharges.
- Hydraulic operator service: These systems run under 1,000+ psi of pressure. Opening a hydraulic line to “top it off” without the correct procedure sprays fluid and can inject it through skin. That’s an emergency room visit, not a gate repair.
Why California Code Makes Gate Work Different From Other DIY Projects
The DIY gate conversation changes the moment you cross into electrical work. In most states, a homeowner can replace a switch or a receptacle without a permit. California’s Electrical Code, as enforced by cities like Corona through the Riverside County inspection process, has specific provisions governing automated gate systems. The reason isn’t bureaucracy. It’s that gate systems combine line-voltage power, automated movement, and public-facing locations, which is a recipe for injury when improperly done.
The relevant standard is UL 325, which California has adopted into its building code. UL 325 governs automated gate operator construction and installation, and it mandates specific entrapment protection devices: photo eyes, contact edges, and audible alarms in some configurations. When a DIY homeowner replaces an operator or modifies the safety circuit without understanding UL 325 requirements, the gate no longer complies with California code. The practical consequences go deeper than a failed inspection.
Insurance exposure: Most homeowner policies in California contain exclusions for unpermitted work that causes damage or injury. If your DIY-wired gate operator fails and injures a visitor, or if an electrical fault from your work starts a fire in the house, the insurance adjuster’s first question is whether the work was permitted and code-compliant. If the answer is no, the claim can be denied. You are now personally liable.
Existing permit pulls: When a Corona homeowner later sells the property, the buyer’s inspection may flag visible gate electrical work. If the work was unpermitted, the sale can stall while the seller retroactively pulls a permit and pays to have the work brought to code by a licensed contractor. That retroactive cost typically exceeds the original repair by two to three times.
The practical takeaway: a $500 DIY operator replacement that works fine for a year is still an unpermitted, code-violating installation. The long-term risk isn’t about whether the gate opens. It’s about what happens when something goes wrong and the paper trail doesn’t exist.
This isn’t an argument that every gate repair requires a permit. Replacing a Mighty Mule control board with an exact factory replacement, or swapping a keypad, does not modify the electrical system’s design and is below the permit threshold in most cases. The line is drawn at wiring new circuits, changing the operator’s voltage class, moving or replacing safety devices, or any work that changes the gate’s operation from the original permitted installation.
The Tool and Skill Threshold: What You Actually Need
YouTube makes everything look doable. What the videos never show is the moment a bolt snaps, the wire connector refuses to release, or the replacement part doesn’t match the wiring diagram. Here’s the honest tool and skill inventory for the most common gate repairs Corona homeowners attempt.
For mechanical gate repair (hinges, rollers, track, latch)
- Tools needed: Socket set (metric and SAE), adjustable wrenches, dead-blow hammer, pry bar, angle grinder for cutting stripped hardware, cordless drill, lockable pry clamps, bottle jack for lifting a sagging gate, crane or engine hoist if the gate is over 600 pounds.
- Skill required: Understanding of load distribution, metal fatigue patterns, and fastener grade selection. A gate hinge is not a door hinge. The forces are one-sided, dynamic, and thousands of cycles per year.
- The failure point: Most DIY mechanical repairs fail because the homeowner reuses old fasteners or replaces a grade-8 bolt with a hardware-store grade-5. The bolt breaks in six months, the gate drops, and now the repair is structural, not mechanical.
For automated gate repair (operator, board, sensors, remote)
- Tools needed: Multimeter (and the skill to read continuity and voltage correctly), insulated screwdrivers, wire strippers, connectors rated for outdoor use, circuit tracer if the wiring path is unknown, and the operator’s factory manual with the wiring diagram for your specific board revision.
- Skill required: Ability to read a wiring diagram, understand normally-open vs normally-closed relay logic, test capacitors safely (they hold a charge after power is cut), and diagnose the difference between a board fault, a wiring fault, and a mechanical binding fault.
- The failure point: DIY electrical work on gates most commonly fails at the connector. Homeowners use interior wire nuts or cheap butt connectors that corrode within one Corona winter rain season. The connection fails intermittently, which produces a gate that works sometimes and fails at the worst moment.
One more honest point: the time threshold matters. A boundary repair that takes a professional 45 minutes routinely takes a homeowner an entire weekend, two trips to the hardware store, and a Sunday afternoon spent troubleshooting a gate that still doesn’t work. Your time has value. If you’re billing your time at anything, the DIY savings on that specific repair just evaporated.
How a Bad DIY Repair Changes the Professional’s Job
When we’re called to a gate that’s already been worked on by a homeowner, the diagnostic process changes on arrival. For tips on avoiding emergency situations, read our Gate Repair Emergency Preparedness Guide for Corona Homes. We’re no longer looking for the original fault. We’re looking for the original fault plus whatever was introduced during the failed repair. That second layer of diagnosis is why a “simple” gate problem sometimes costs more to fix after a DIY attempt than before.
Here’s a real example we see repeatedly across Corona. The homeowner’s gate starts stopping halfway through its open cycle. The homeowner decides it’s the limit switch, opens the operator, and adjusts the limit cams. Now the gate opens too far and slams against the post, or it doesn’t close enough to latch. The homeowner then tries to “reset” the limits using a YouTube video for a different operator model. Now the board is in an undefined state. By the time we arrive, we’re not just diagnosing the original travel interruption, which was a dying capacitor. We’re also re-establishing correct limit positions, checking for mechanical damage from the gate slamming the post, and verifying the safety sensors still work. The repair went from a $180 capacitor replacement to a $450 visit that includes correcting the DIY modifications.
Another common one: the homeowner replaces a broken gear in a Viking operator themselves but doesn’t set the gear mesh correctly. The operator runs fine for six weeks, then the gears chew each other to shavings. Now the homeowner needs a new gear set, which costs more than the first gear, plus the labor to replace it again. The “savings” from the DIY gear replacement was negative from day one.
The honest version: some DIY repairs just delay the professional bill and add to it. The smart money is in knowing which attempts carry that risk.
The Honest Cost Comparison: When DIY Saves Money
Let’s talk about numbers. Not abstract “it’s cheaper to hire a pro” claims. Actual money, based on typical gate repair costs in Corona’s market.
Where DIY genuinely saves
- Lubrication and cleaning: A $12 can of lithium grease and an hour of your time every six months. The professional equivalent costs a service call fee. This is pure savings.
- Keypad battery replacement: Three dollars. Ten minutes. No professional ever needs to be involved.
- Remote reprogramming after battery change: Zero dollars. The manual has the steps.
- Solar panel cleaning: Zero dollars. Done.
- Latch adjustment: If the gate closes and latches but rattles, a simple striker plate adjustment with a socket wrench costs nothing and takes 20 minutes.
Where DIY is a false economy
- Operator board replacement: The board costs $250 to $550 depending on brand. The DIY version often requires wire-by-wire transfer without the factory harness labels. One mis-wire and the new board is damaged. The professional version includes board programming for the specific application, limit setting, and safety sensor verification. The difference: DIY saves maybe $180 in labor if everything goes right, which it doesn’t about a third of the time.
- Capacitor replacement: The capacitor costs $20. The knowledge to test it correctly and the tool to discharge it safely cost more. Get this wrong and the capacitor holds its charge until you touch the wrong lead. Hospital copays exceed professional gate repair bills.
- Hinge replacement: Hinges cost $40 to $120 each. The weld repair or plate reinforcement that’s usually required when a hinge has torn off the post is not a bolt-on fix. The DIY attempt typically fails within the year, and the second repair is structural, not mechanical.
- Sensor alignment or replacement: A photo eye pair costs $80 to $150. Getting the alignment within the functional range requires understanding the sensor’s beam spread and the gate’s reflectivity. Misaligned sensors create a gate that reverses at random intervals. The professional calibration is 20 minutes; the DIY troubleshooting is a weekend.
The threshold where DIY makes sense is clear: no electricity, no structural load, no safety liability. Below that line, save your money. Above it, the $150 to $200 an hour a gate specialist charges is insurance against a second repair bill and worse.
Entrapment Protection: The Component That Changes Everything
The phrase that changes a gate repair conversation faster than anything else is “entrapment protection.” It sounds like industry jargon, but it means something concrete: the system of devices that stops a moving gate from crushing a person. In Corona, every automated gate installed after 2001 is required to have entrapment protection that meets UL 325 standards.
The protection devices are the photo eyes near the ground, the contact edge on the gate’s leading edge, and in some cases an audible alarm. The logic is simple: if a person or pet is in the gate’s path, the gate must stop and reverse. The system must be tested monthly. Most Corona homeowners have never tested theirs, and many don’t know how.
When a safety sensor fails, the gate either refuses to close (the safe failure mode) or the sensor gets bypassed (the dangerous failure mode). The DIY temptation is to jump the sensor wires and restore automatic operation. This is not a repair. It’s a code violation and a safety hazard. If that gate injures a child, the homeowner who bypassed the sensor is personally liable, and the insurance company is looking for exactly that kind of code violation to deny the claim.
Testing your own entrapment protection is legitimate DIY. The test is: place a solid object in the gate’s path while it’s closing. The gate should stop and reverse on contact. Do this monthly. If it doesn’t reverse, the sensor needs professional calibration or replacement. That’s a call worth making. Even a Mighty Mule on a simple ranch gate needs working entrapment protection. The standard doesn’t ease up because the property is rural.
Brand-Specific Realities: Why the Operator Matters
Gate operators are not interchangeable. A FAAC hydraulic operator and a Mighty Mule DC actuator share a brand name with the word “gate” and little else. The repair approach, the failure modes, the available parts, and the required skill are radically different.
When a Corona homeowner opens the operator housing and finds a FAAC or BFT board, they’re looking at a European-designed system with specific logic for slow-down points, leaf delay, and obstacle detection. The wiring is not intuitive. The board won’t respond to generic troubleshooting. One wrong jumper setting and the gate’s behavior changes in ways that are hard to diagnose without the factory documentation.
A Linear or Viking operator is different again. These are common on access-controlled commercial properties across Corona’s industrial corridors, but they appear on residential estates too. The board logic handles loop detectors, phone entry systems, and sometimes fire department access overrides. The DIY homeowner looking for a “gate repair” video will not find their board in any of the results, because these systems are not sold at big-box stores and the repair knowledge sits with specialist contractors.
Our techs work on those brands every week. The brand recognition means we arrive already knowing the board layout, the common failure points, and the parts likely needed. That’s the difference between a one-visit fix and a parts-ordering job that takes a week. When a homeowner asks whether they should attempt a board replacement on a BFT operator, the answer is usually no. Not because the homeowner isn’t smart enough. Because the cost of board replacement on a BFT is $600 to $1,200 for the part alone, and a mis-wiring fries it in the first power-up. That’s an expensive way to learn European gate electronics.
Common Mistakes to Avoid
- Jumping safety sensors to “fix” a gate that won’t close. This is the most dangerous thing a homeowner can do, and it’s the first thing many online forums suggest. A gate that won’t close is telling you a sensor has detected something or failed. Bypassing the sensor silences the safety system. The gate now closes on whatever is in its path, including people.
- Replacing a board without verifying the wiring harness is identical. Manufacturers revise boards mid-production. A LiftMaster board from 2015 and one from 2021 may look identical but have different wire positions. The old board’s wires transfer to the new board and the new board fries on power-up.
- Using interior-grade wire nuts at outdoor connections. Corona’s winter rain finds every exposed connection. Interior wire nuts do not seal against moisture. The connection corrodes within months and creates an intermittent gate that fails at random. Use gel-filled connectors rated for direct burial or outdoor exposure.
- Welding a gate frame without understanding the load path. A cracked weld on a gate is usually a symptom of poor load distribution or a failing hinge, not just a bad weld. Welding the crack without addressing the cause pulls the stress to the next weak point. The gate fails again, often worse.
- Ignoring the gate’s alignment after an operator replacement. The operator and the gate must be aligned as a system. A new operator on a binding gate burns out its gearbox within a year, regardless of operator quality. The repair was never the operator; the repair was the track alignment.
- Assuming all gate problems are electrical. About a third of “the gate won’t open” calls are mechanical. A broken wheel, a bent track, a seized hinge. The homeowner buys a board, replaces it, and the gate still won’t move. The board was never the problem.
See the difference
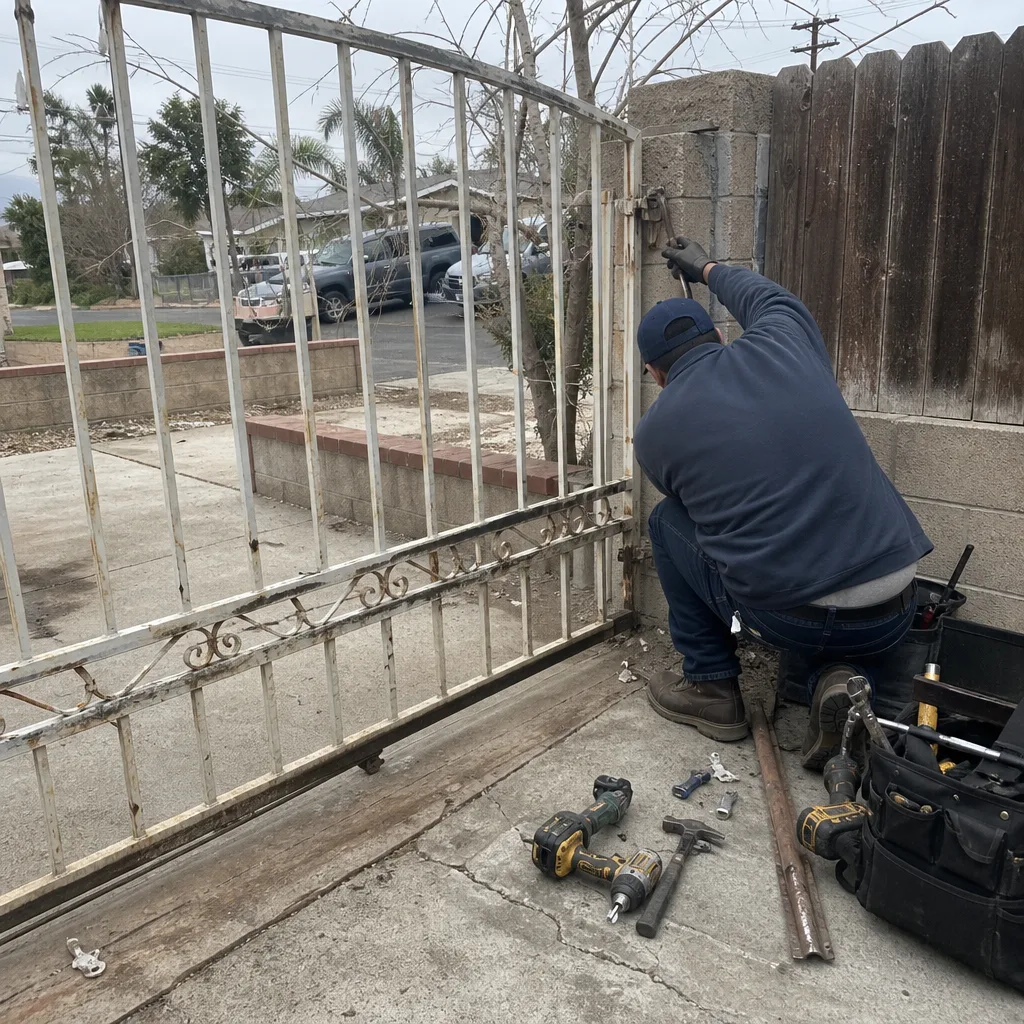 Before
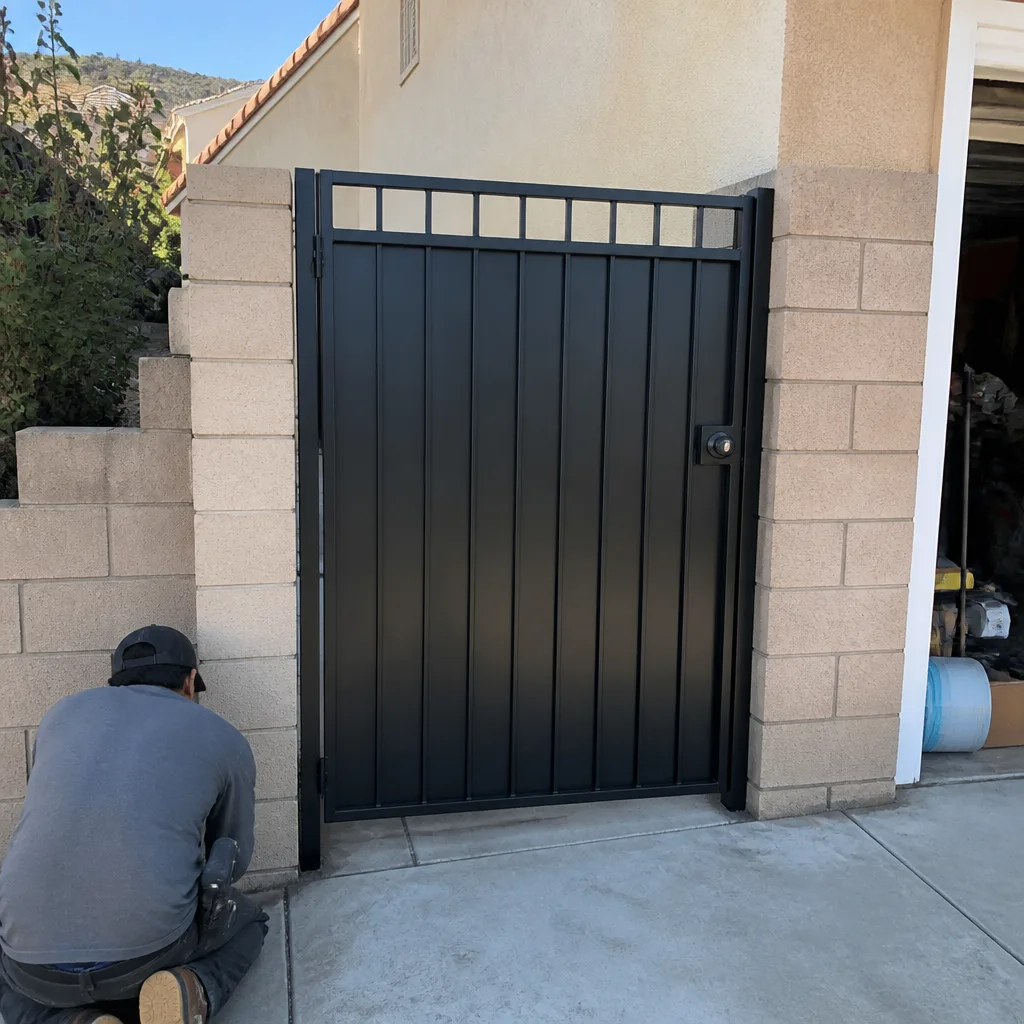 After
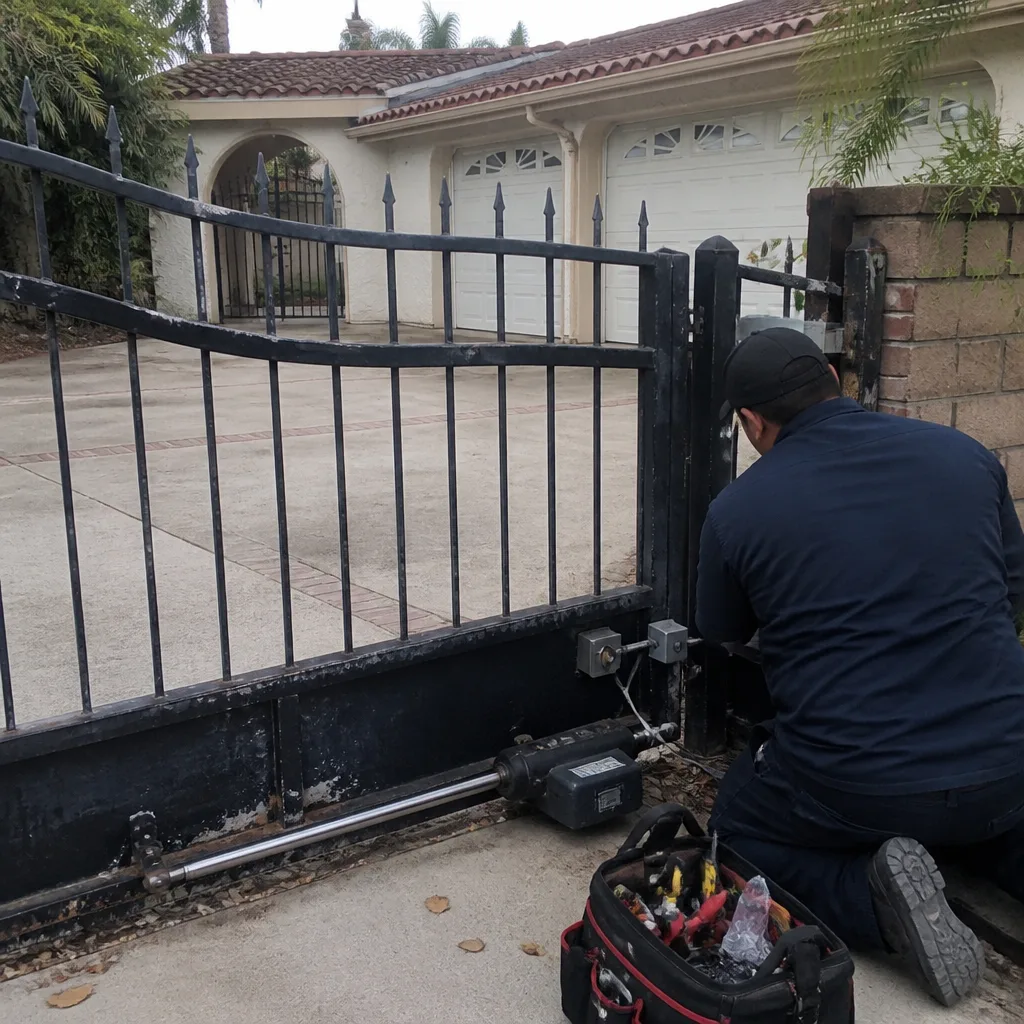 Before
 After
 Before
 After
When to Call a Professional
Call a gate specialist when the repair involves electrical connections above the low-voltage control side, any structural welding or hinge replacement that carries the gate’s weight, entrapment protection sensor replacement or calibration, or hydraulic operator service. These categories cover most serious gate failures and all real safety hazards. If your gate has failed and you’re unsure which category the repair falls into, the diagnostic visit itself is the value. Baron Gate Repair home is a gate-only shop in Corona. We’re not a handyman with a gate sideline; Gate Repair in Corona is the entire job. For automated systems specifically, Electric Gate Repair in Corona covers the boards, sensors, and operator mechanics that generalists misdiagnose. And when repair isn’t the right call for a 20-year-old gate, Gate Installation in Corona covers the replacement path. Baron Gate Repair offers free estimates in Corona, call (877) 752-1896.
Frequently Asked Questions
Gate repair in Corona typically runs $180 to $550 for common issues like sensor alignment, limit adjustment, capacitor replacement, and latch repair, with operator board replacement running $450 to $1,200 depending on the brand. Structural repairs like hinge replacement or weld repair run higher because they involve load-bearing correction. Every job is quoted and agreed before work starts, so there’s no surprise invoice after the fact. Call (877) 752-1896 for a specific quote on your gate.
Lubrication, remote programming, keypad replacement, and minor mechanical adjustments are legal for homeowners in Corona or anywhere in California. Running new electrical circuits, replacing an operator on a 220V line, or modifying safety sensor wiring requires a permit and is not legal DIY work. Unpermitted electrical work on a gate system violates the California Electrical Code and creates insurance exclusions that can deny a future claim. If the work involves line voltage, hire a licensed specialist.
A gate that stops mid-cycle is usually suffering from one of three problems: a failing capacitor that can’t deliver consistent power to the motor, a mechanical binding point in the track or hinges that triggers the operator’s obstruction detection, or an intermittent wiring connection that drops signal at a specific travel position. The correct diagnosis requires testing each system in sequence. Adjusting the limits will not fix any of these three causes and often creates additional problems.
You can, but you shouldn’t if the replacement involves line-voltage wiring or safety sensor integration. The operator itself costs $300 to $1,200, and the risk is that one incorrect wiring connection destroys the new board on first power-up. The professional installation includes limit setting, sensor verification, and code compliance that a DIY installation lacks. When the gate is on a 220V circuit, the DIY version is an unpermitted electrical modification. The savings of roughly $200 to $400 in labor evaporates if the board gets damaged or the safety sensors don’t work after installation.
Gate repair deals with outdoor, weather-exposed, high-cycle automated systems that operate on swinging or sliding mechanics. Garage door repair is an interior discipline with different loading, different safety standards, and different operator brands. A garage door company that “also does gates” typically lacks the brand-specific knowledge for FAAC, BFT, Viking, or Linear systems. A gate specialist spends every service call on gate operators, gate mechanics, and gate safety systems. The diagnosis comes faster and the repair holds because the tech isn’t dividing attention across door types.
Close the gate and place a solid object, like a trash can or a piece of plywood, in the gate’s path. The gate should stop and reverse when it contacts the object. Repeat with the object in different positions along the gate’s travel. If the gate doesn’t reverse, the entrapment protection has failed and the gate is unsafe. This test takes two minutes and should be done monthly. A failed test is a call for professional sensor replacement or calibration, not a DIY repair.
The Bottom Line
DIY gate repair in Corona makes sense when the work is mechanical, tool-accessible, and free of electrical or structural liability. Lubricate your hinges, clean your solar panels, reprogram your remotes, and save the service call. The moment the repair touches line voltage, load-bearing welds, or entrapment protection, the DIY math changes from a savings calculation to a risk calculation. California’s code and insurance realities punish unpermitted electrical work in ways that dwarf the labor savings. The smart homeowner knows which category their repair falls into before touching a tool. Browse our more guides & resources to keep learning. When in doubt, the free estimate costs nothing and the diagnostic visit from a gate specialist, not a generalist, is the cheapest insurance on the market. Call (877) 752-1896.
Written by the team at Baron Gate Repair, serving Corona since 2017.