Last updated October 31, 2026
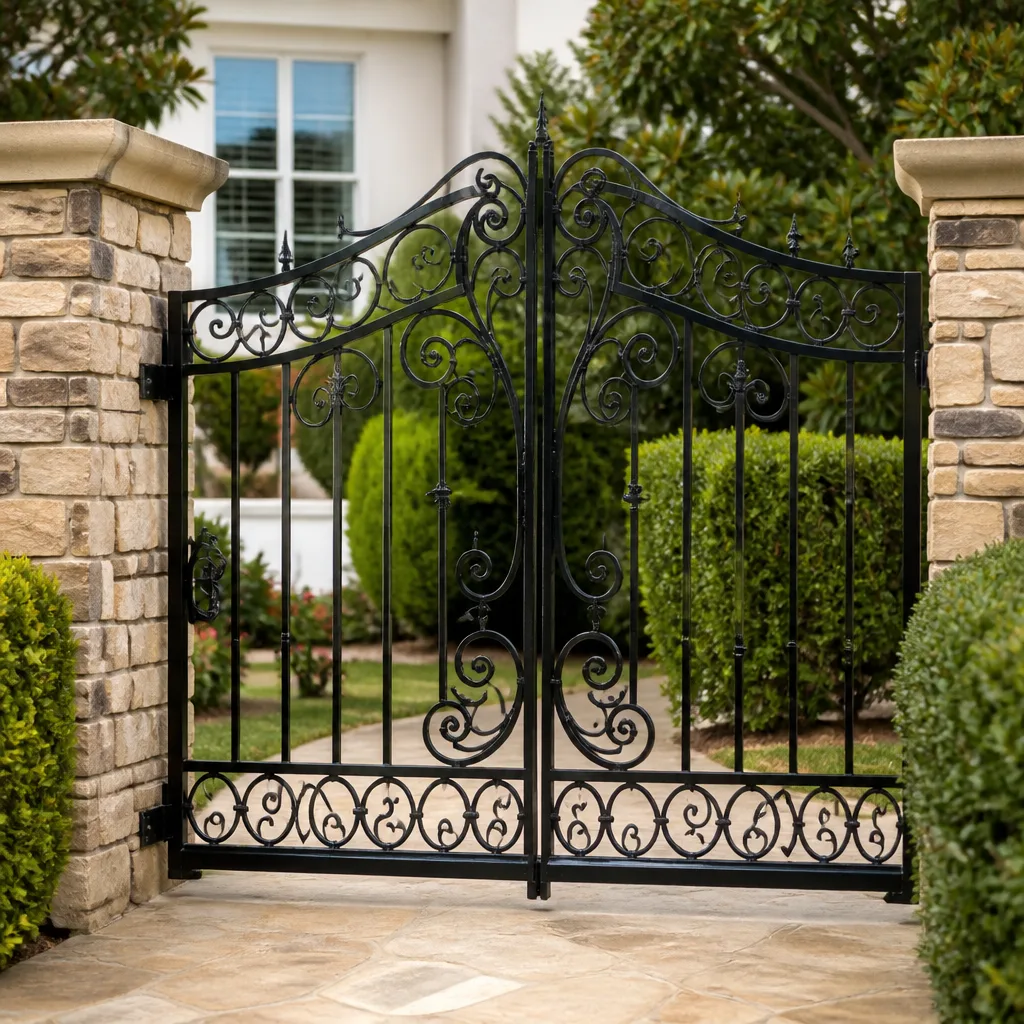 Wrought iron
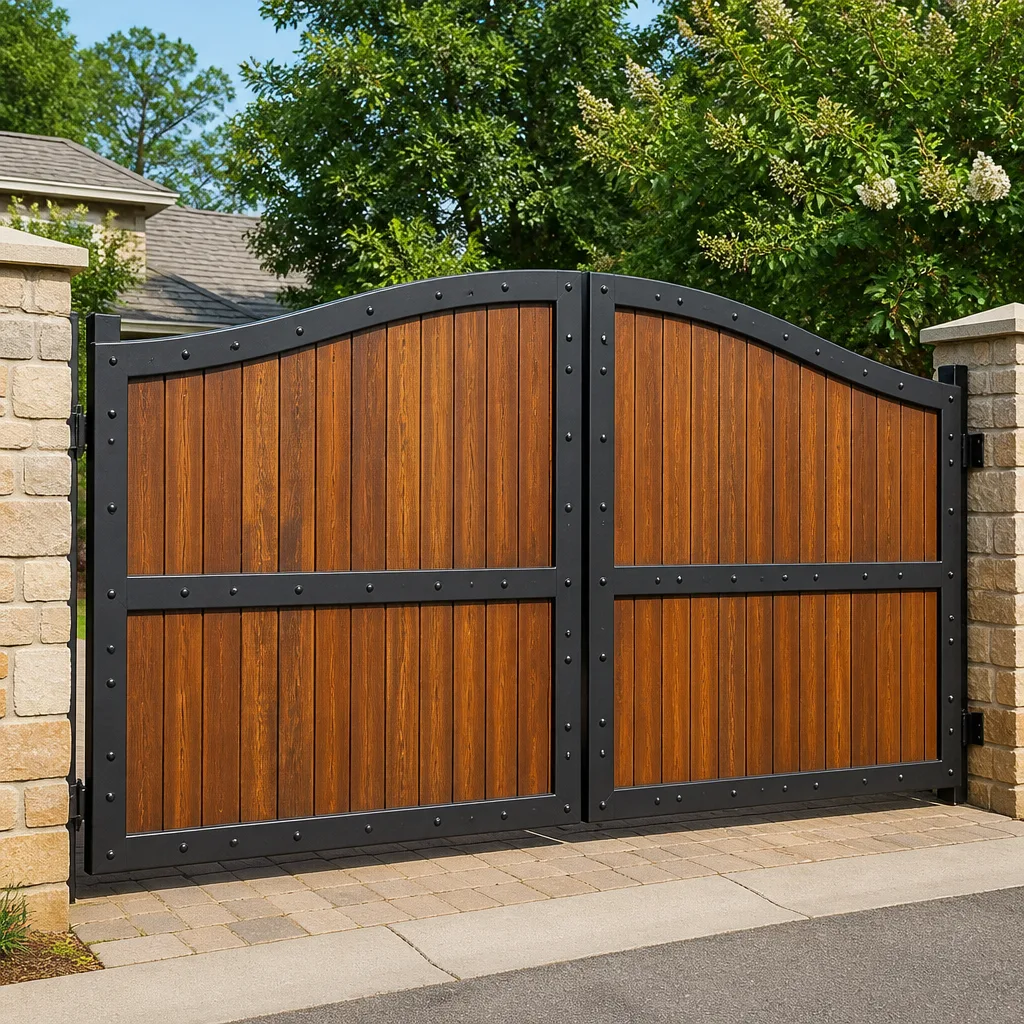 Wood & steel frame
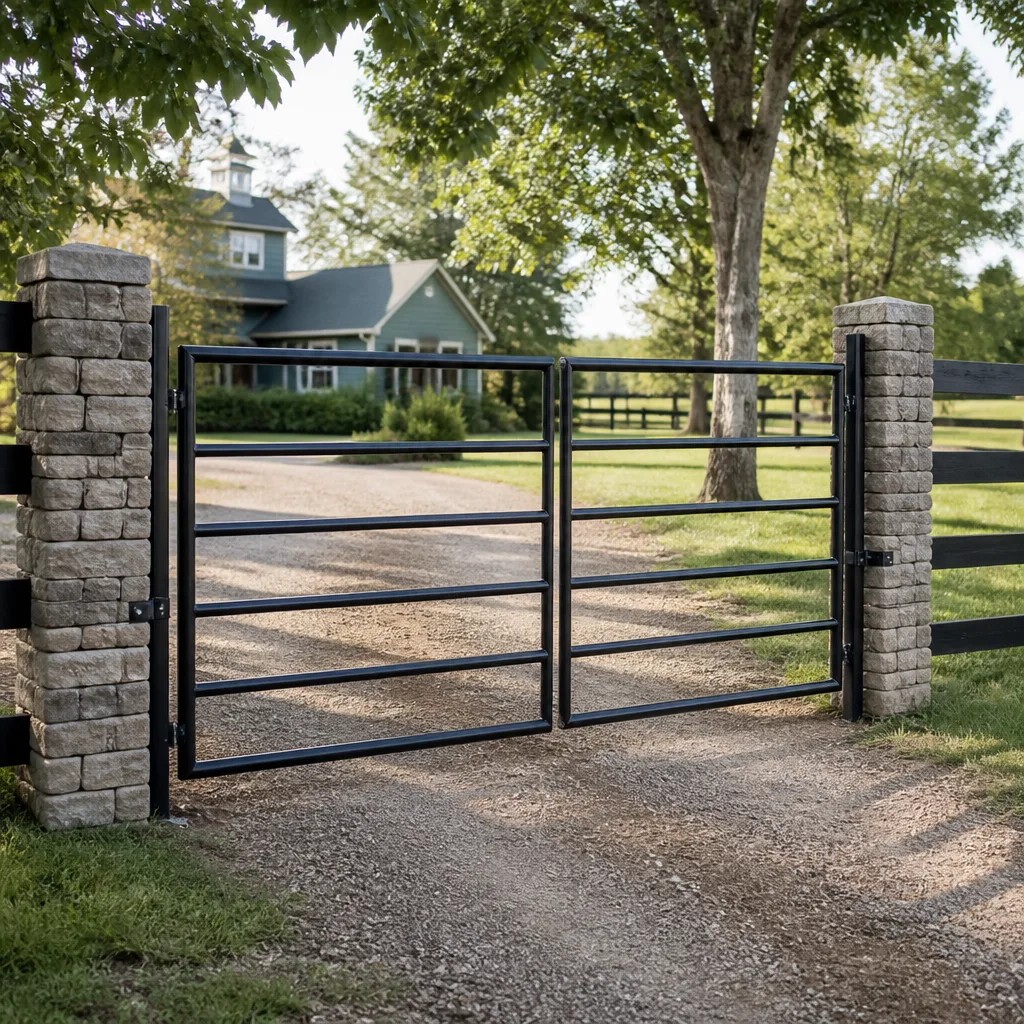 Farm & ranch
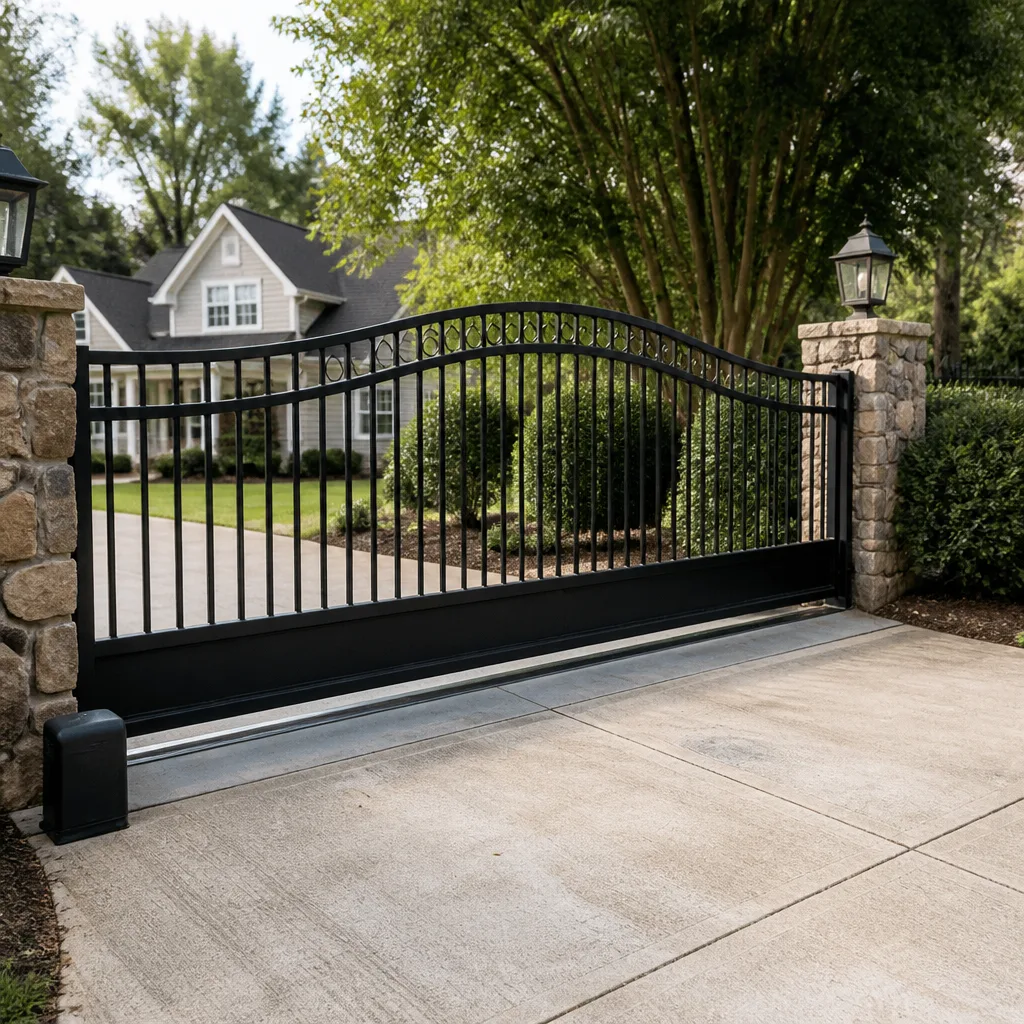 Sliding driveway gates
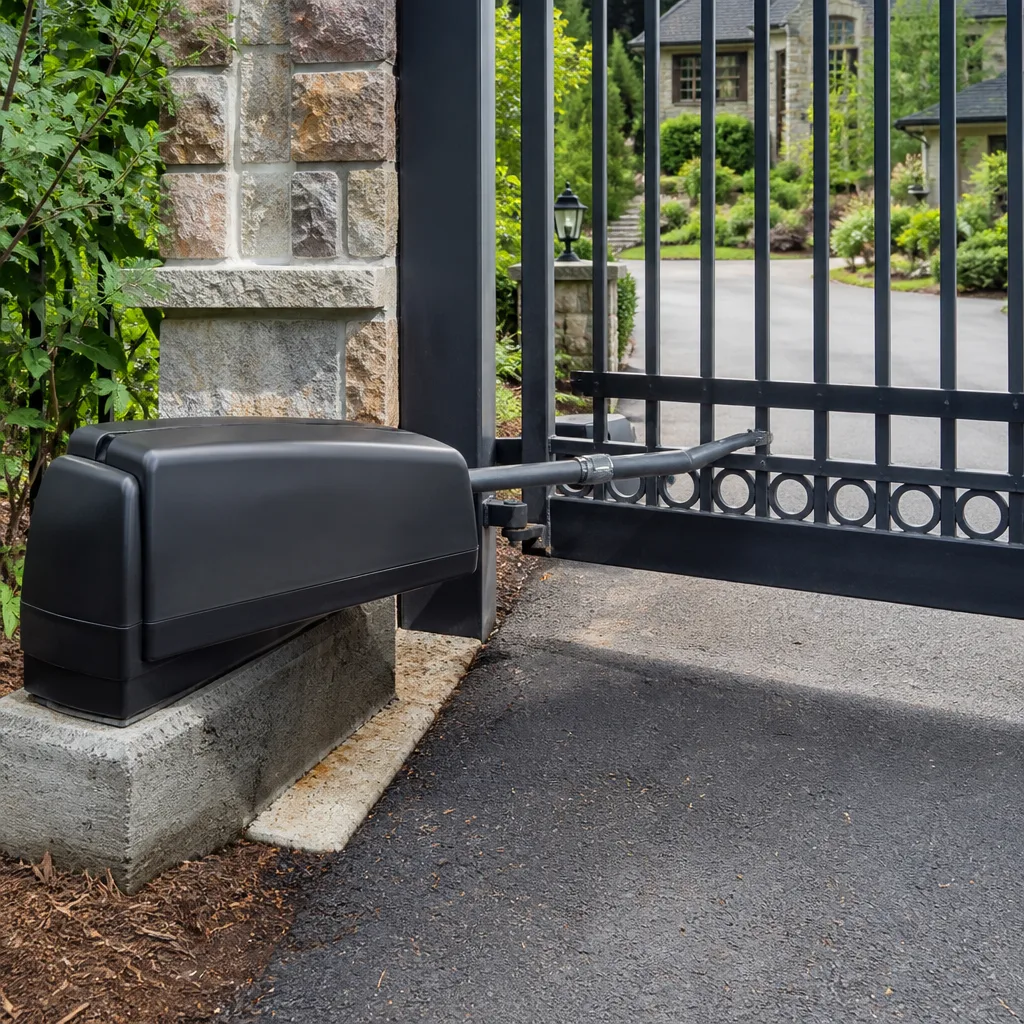 LiftMaster operators
Free on-site gate assessment - hinges, posts, and your LiftMaster or Nice gate operator checked before anything is quoted
The assessment is free and the quote is the invoice.
Get your free estimateThe Complete Gate Repair Guide for Corona Homeowners
A gate that sags three inches after two summers isn’t a hardware problem. It’s a post-footing problem caused by Corona’s expansive clay soil, and replacing the hinge won’t fix it. This guide maps every common gate failure directly to the regional conditions that cause it, so Corona homeowners stop treating symptoms and start fixing root causes. You’ll learn how heat, wind, and soil shift affect gate hardware, which repairs you can handle yourself, and when to call a gate repair specialist.
Styles & brands we work with
Quick Answer
For the complete guide to gate repair in Corona, start with the most common issues: fixing sagging gates caused by shifting clay soil, replacing automatic opener components worn down by Santa Ana wind events, and correcting misaligned tracks and hinges from thermal expansion. Most repairs cost between $175 and $650 depending on whether the issue is mechanical, electrical, or structural. Acting early on alignment problems prevents the post and hinge damage that turns a $200 fix into a $2,500 rebuild.
Table of Contents
- How Corona’s Clay Soil Causes Gate Failure
- Santa Ana Winds and Automatic Gate Wear
- Adjustment vs. Structural Repair: How to Tell the Difference
- Material Failure Timelines: Wrought Iron, Aluminum, and Wood
- DIY Repairs vs. Repairs That Void Warranties
- Electric Gate Opener Problems and Diagnosis
- Common Mistakes to Avoid
- When to Call a Professional
- Frequently Asked Questions
- The Bottom Line
How Corona’s Clay Soil Causes Gate Failure
Corona sits on some of the most expansive clay soil in the Inland Empire. Expansive clay absorbs water during winter rains and swells, then contracts and cracks during dry summer months. A gate post set in this soil moves with it, tilting inward or outward by fractions of an inch each season. Over two or three years, that movement translates to a gate that drags on the ground, won’t latch, or binds at the hinge side.
We see this pattern constantly in older Corona neighborhoods like Sierra Del Oro and Corona Hills, where original gate posts were set in shallow concrete pads without considering soil expansion. The gate itself is usually fine. The problem is below grade, and no amount of hinge tightening or latch adjustment will fix it.
What a proper repair addresses:
- Post depth and footing mass. A post that’s moving needs to be reset below the active soil zone, typically 30 to 36 inches in Corona’s soil conditions, with a larger concrete collar than the original.
- Soil improvement around the footing. In severe cases, compacted crushed rock or a drainage correction prevents repeated movement.
- Gate weight redistribution. If a solid steel gate is hanging on a post that was sized for a lighter aluminum panel, the post will move regardless of soil quality.
What masks the problem temporarily:
- Replacing hinges or latch hardware on a moving post.
- Trimming the bottom of a sagging gate to clear the ground.
- Tightening bolts that are already at maximum torque.
If your gate starts dragging in late summer and self-corrects after winter rain, that’s classic clay soil heave. The post is moving seasonally. A gate specialist knows to check post plumb in both wet and dry seasons before recommending a structural fix.
Santa Ana Winds and Automatic Gate Wear
Santa Ana wind events hit Corona with sustained gusts of 30 to 50 mph, sometimes higher in the foothills near Eagle Glen and the Cleveland National Forest boundary. An automatic gate is a large sail in those conditions. Every gust pushes against the gate panel, and that force transfers directly into the operator arm, the hinge points, and the limit switches that tell the opener where to stop.
After each Santa Ana season, we recommend inspecting three components:
- Operator arm bushings. Gust loads wear the nylon bushings at the arm pivot points. Worn bushings cause the gate to rattle in wind and eventually stress the motor.
- Limit switch calibration. Wind force can knock a gate slightly past its normal open or close limit. The opener then fights itself on the next cycle, drawing excess current.
- Hinge pin wear. Constant oscillation from wind slightly enlarges hinge pin holes over time, which creates the play that leads to gate sag.
Systems from FAAC and BFT handle wind load well when properly maintained, but their European engineering assumes hardware is inspected. A Viking or Linear opener on a heavy solid gate in a wind-exposed Corona property needs the same attention. The brand doesn’t matter as much as the maintenance schedule.
Adjustment vs. Structural Repair: How to Tell the Difference
Most gate problems fall into one of two categories: adjustment issues that a technician can correct in under an hour, and structural problems that require excavation, concrete work, or major component replacement. Knowing which one you’re dealing with saves money and prevents a repair that fails in six months.
Here’s how to tell from the ground:
- Gate sags at the latch side but hinges are tight and post is plumb. This is an adjustment issue. The gate frame or hinges may have shifted. Tightening, shimming, or hinge replacement typically solves it.
- Gate sags and the post visibly leans. This is structural. The post footing has failed or was undersized. Hinge work won’t help until the post is reset.
- Gate binds during part of the swing but opens smoothly otherwise. Adjustment. Likely a misaligned track, hinge, or operator arm. A service call fixes it.
- Gate binds and you can see stress cracks in the post base concrete. Structural. The footing is failing under load. This worsens and eventually the post fails.
- Opener runs but gate moves unevenly or stops mid-cycle. Adjustment or electrical. Check limit switches before assuming the motor is dead.
- Lubricating hinges and latch hardware with a silicone-based lubricant.
- Tightening visible bolts on hinge brackets and latch plates.
- Cleaning photoelectric sensor lenses and adjusting their alignment.
- Trimming vegetation that interferes with gate travel.
- Checking and resetting GFCI outlets that power the opener.
- Opening the control board housing on any automatic opener. FAAC, BFT, Linear, Viking, and other manufacturers void warranty coverage when the board is accessed by anyone without factory training or documented service credentials.
- Replacing any component inside the operator arm or motor housing. This includes limit switch adjustment that requires opening the sealed unit.
- Modifying safety loops, photoelectric sensors, or reverse-sensing mechanisms. Safety systems are code-required, and altering them creates liability beyond warranty issues.
- Bypassing or removing any component of the opener’s built-in obstruction detection.
- Opener hums but the gate doesn’t move. The motor is getting power but the drive mechanism isn’t engaging. This is usually a stripped gear, a broken drive coupling, or a failed capacitor. On older systems, it can also be a worn clutch. This is a repair, not an adjustment.
- Gate moves a few inches and stops, then reverses. Obstruction detection is triggering. Check for physical obstructions first, then check photoelectric sensor alignment and sensitivity. If those are clean, the issue may be a failing limit switch or a current-sensing problem on the control board.
- Gate opens but won’t close, or closes but won’t open. One limit switch has failed or drifted out of position. On systems with magnetic limit sensors, a sensor can come loose from its bracket. This is typically an adjustment fix.
- Opener does nothing, no sound at all. Check the outlet and GFCI first. If power is present, the likely causes are a blown transformer, a failed control board, or a dead remote receiver. These are component-level repairs.
- Gate works from the keypad but not remotes, or vice versa. The receiver or the remote programming is at fault. Replacing a remote is straightforward. If the receiver on the board has failed, that’s board-level work.
- Replacing hinges on a sagging gate without checking the post. If the post has moved, new hinges just relocate the problem. Check post plumb first, every time. In Corona’s clay soil, post movement is more common than hinge failure.
- Lubricating a binding gate with WD-40. WD-40 is a solvent, not a lubricant. It displaces moisture but leaves metal parts under-lubricated. Use a silicone or lithium-based grease on hinge pins and a dry graphite on latch mechanisms.
- Adjusting limit switches every time the gate seems off. Repeated limit adjustments usually mean something else is failing, like a worn arm bushing or a loose gear. If you’re adjusting limits more than once a year, the underlying problem hasn’t been addressed.
- Ignoring gate noise until something breaks. A gate that’s getting louder is telling you something. Grinding means a bearing or gear is failing. Squealing means a bushing is dry or worn. Squeaking at hinges means the pins are binding. Catching these sounds early prevents motor failure.
- Painting over rust on a steel gate without surface prep. Rust continues progressing under paint. The proper fix is removal to bare metal, a rust-inhibiting primer, then an exterior-grade coating. Anything less is cosmetic.
- Assuming an automatic gate that won’t open manually is jammed. Most automatic gates have a manual disconnect lever or key. If the gate won’t move manually with the operator disconnected, the gate itself is binding, not the opener. Forcing the operator to work against that bind burns out motors.
- Calling a general handyman for an electric gate system problem. Handymen handle the mechanical side of a gate fine in many cases. When a control board or safety sensor is involved, the misdiagnosis rate climbs sharply. The gate might work after a handyman visit, and then fail again in a month because the root cause was never addressed.
A gate that has been sagging for more than one season has likely worn its hinge pins and pulled its post. By the time most Corona homeowners call us, the problem has progressed past adjustment into structural repair territory. That’s not a criticism, it’s an observation about how gradual these failures are.
Material Failure Timelines: Wrought Iron, Aluminum, and Wood
Corona’s inland heat and UV exposure age gate materials faster than coastal climates do. Understanding what your gate is made of, and when that material typically fails here, helps you plan maintenance and budget for replacement.
Wrought iron and steel gates. In Corona’s dry heat, powder-coated steel typically shows rust at weld points, hinge areas, and the bottom rail within 8 to 12 years. Uncoated or decorative iron shows surface rust within 3 to 5 years. The failure point is almost never the steel itself, it’s the coating. Once rust starts at a weld, moisture wicks under the powder coat and corrosion spreads invisibly. Repainting without proper surface prep buys one or two seasons at most.
Aluminum gates. Aluminum doesn’t rust, but it fatigues. In Corona, residential aluminum gates used for driveway access typically develop stress cracks at hinge mounts and mid-rail joints after 10 to 15 years of thermal cycling. The expansion and contraction of hot days and cooler nights takes a toll on welds. Aluminum gates also dent more easily during high wind events, and dents in structural rails compromise stiffness.
Wood gates. Wood gates in the Inland Empire fail from sun, not rain. Direct UV exposure breaks down wood fibers, leading to checking and cracking within 3 to 5 years on stained gates. The glue lines in laminated panels separate in heat. Hardware pullout at hinge screws is the most common wood gate failure we see, usually within 6 to 8 years, as the wood around screw holes degrades. Sealing every two years slows this dramatically.
None of these timelines are guarantees. A shaded gate on a north-facing slope in Norco Hills will age slower than a fully exposed gate in South Corona. But these are the patterns we observe across hundreds of Corona properties.
DIY Repairs vs. Repairs That Void Warranties
Some gate maintenance is genuinely DIY-friendly. Other work, particularly on automatic operators, voids manufacturer warranties the moment you open the case. See our DIY vs professional gate repair guide for Corona homeowners for the full breakdown:
Reasonable DIY work:
DIY work that voids warranties:
If your gate is manual and you’re comfortable with basic tools, most hinge and latch repairs are manageable. If it has a control board, take the conservative path. The cost of a professional diagnosis is less than the cost of replacing a board that the manufacturer won’t cover because you opened it.
Electric Gate Opener Problems and Diagnosis
Electric gate openers fail in predictable ways, and most failures follow one of five patterns. Knowing which pattern you’re seeing gets you to the right fix faster, whether you’re calling for professional electric gate repair in Corona or troubleshooting before making the call.
Brand matters for parts availability. We stock common replacement parts for FAAC, BFT, Linear, and Viking systems specifically because Corona has a large installed base of each. If you have a less common brand, parts lead times can extend to a week or more. We work on the brand you already have, and that starts with recognizing it on sight when we arrive.
For those researching a full system replacement rather than a repair, our gate installation in Corona page covers what a new installation includes, from post setting to final programming.
Common Mistakes to Avoid
When to Call a Professional
Call a professional when the post is leaning, when the gate is structurally sagging, when the opener shows electrical symptoms (humming, no response, intermittent operation), or when safety systems like photoelectric sensors and auto-reverse aren’t functioning. Also call if your gate has been repaired once and the same problem returned within a few months. That pattern indicates a misdiagnosis, and a second generalist visit is just another coin flip.
Baron Gate Repair offers free estimates in Corona, call (877) 752-1896. We’re gate specialists, not generalists, and our gate repair service in Corona covers everything from a single broken hinge to a complete operator replacement. If you’re unsure whether your problem is worth a service call, describe the symptoms and a technician will tell you honestly what you’re likely looking at.
Frequently Asked Questions
Gate repair in Corona typically costs between $175 and $650 for most mechanical and electrical repairs. Simple hinge replacement or limit switch adjustment runs $175 to $300, while control board replacement or operator arm rebuilds run $450 to $650 plus parts. Structural post resetting starts around $800 and depends on footing size and soil conditions. Baron Gate Repair charges a straightforward rate structure with the price quoted before any work starts. Call (877) 752-1896 for a free estimate on your specific gate.
Same-day service availability depends on the technician schedule on any given day, and we prioritize urgent situations like a gate that won’t close on a property that needs security. Most non-urgent repairs are scheduled within a few business days. Call (877) 752-1896 and describe your gate problem, and the dispatcher will tell you when a technician can get to your Corona property.
We service equipment from FAAC, BFT, Linear, Viking, LiftMaster, DoorKing, Elite, Ghost Controls, and Mighty Mule. That covers the range from DIY-grade residential systems to commercial access control operators. The brand on your gate tells us a lot about its design intent and common failure points before we even open the cover.
That seasonal shift is Corona’s expansive clay soil at work. The soil swells when wet, lifting the post slightly and correcting the gate’s alignment. When the soil dries and contracts in summer, the post settles back and the gate sags again. The fix is resetting the post in a deeper footing that reaches below the active soil zone, not making hinge adjustments.
Mechanical maintenance like lubricating hinges and tightening visible bolts is safe for most homeowners. Opening the operator housing or control board is not, partly due to warranty restrictions and partly due to the risk of electric shock and maladjusting safety systems. Automatic gates exert significant force, and a safety system that’s been improperly adjusted can cause serious injury. Leave anything inside the operator to a trained professional.
We handle the full lifecycle of a gate: repair, electric and automated gate repair, and new installation. If your existing gate reaches the point where repair no longer makes economic sense, the same technician who diagnosed it can install the replacement. That continuity matters because whoever installs the new gate understands the specific soil, wind, and usage conditions at your Corona property. See our gate installation in Corona page for details on what a new gate system includes.
The Bottom Line
Corona gates fail for specific, predictable reasons: clay soil moving posts, Santa Ana winds loading operator components, and inland UV exposure degrading materials on a known timeline. Understanding these failure modes puts you ahead of most homeowners, who only see a sagging gate and assume it’s a hinge problem. Whether you handle a small repair yourself or call a specialist for structural and electrical work, matching the fix to the root cause is what prevents a repeat visit. For more guides & resources on maintaining your gate in Corona’s climate, explore our blog. Baron Gate Repair works on the brand you already have, from the motor to the hinge, and we’ve seen every failure mode Corona’s climate can produce.
For a free estimate on any gate repair in Corona, call Baron Gate Repair at (877) 752-1896.
Written by the team at Baron Gate Repair, serving Corona since 2017.
See the difference
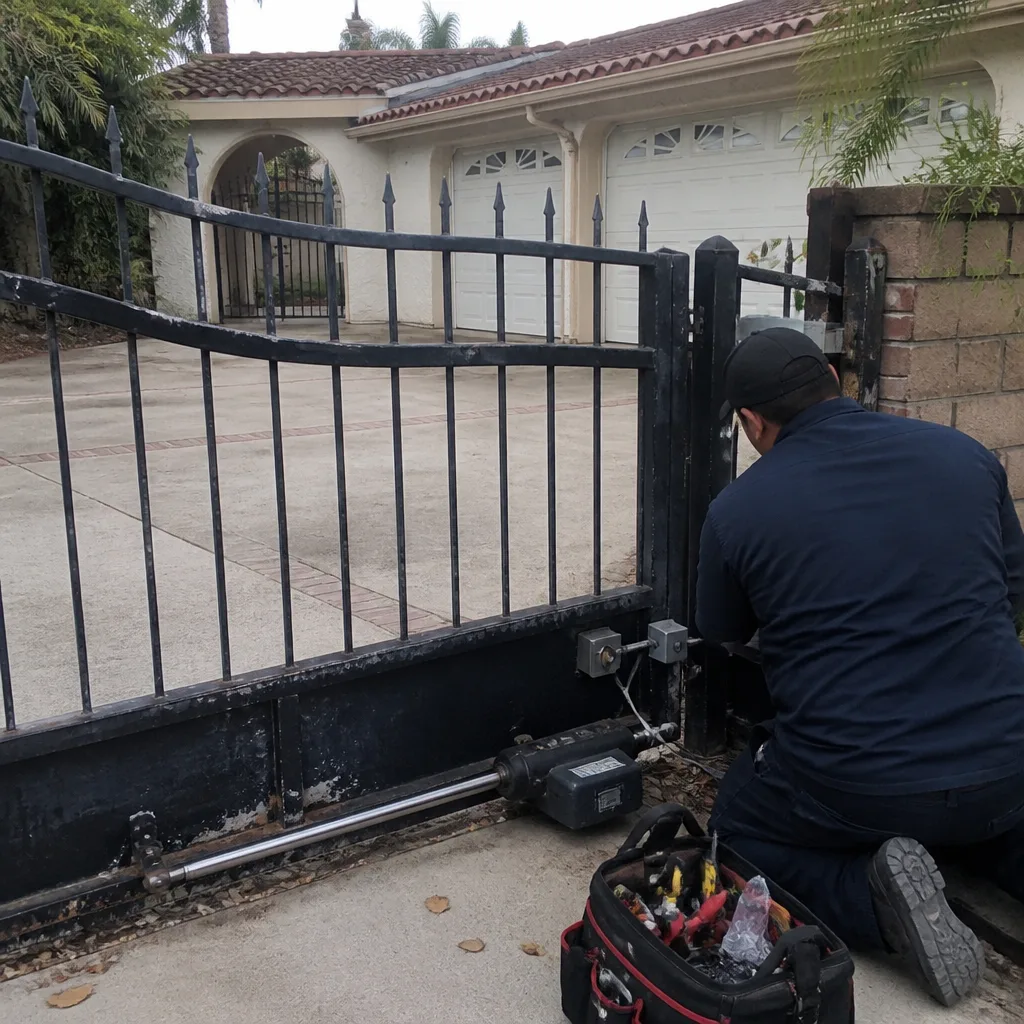
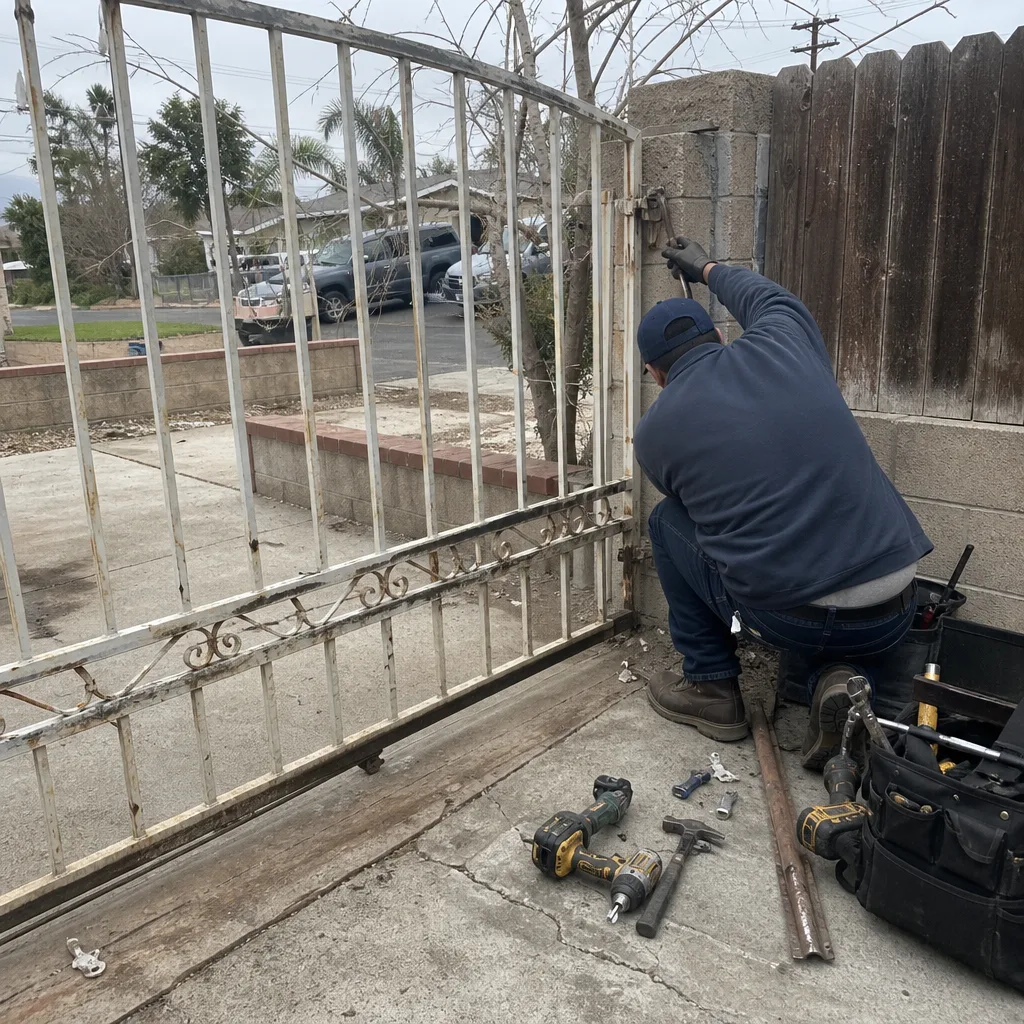 Before
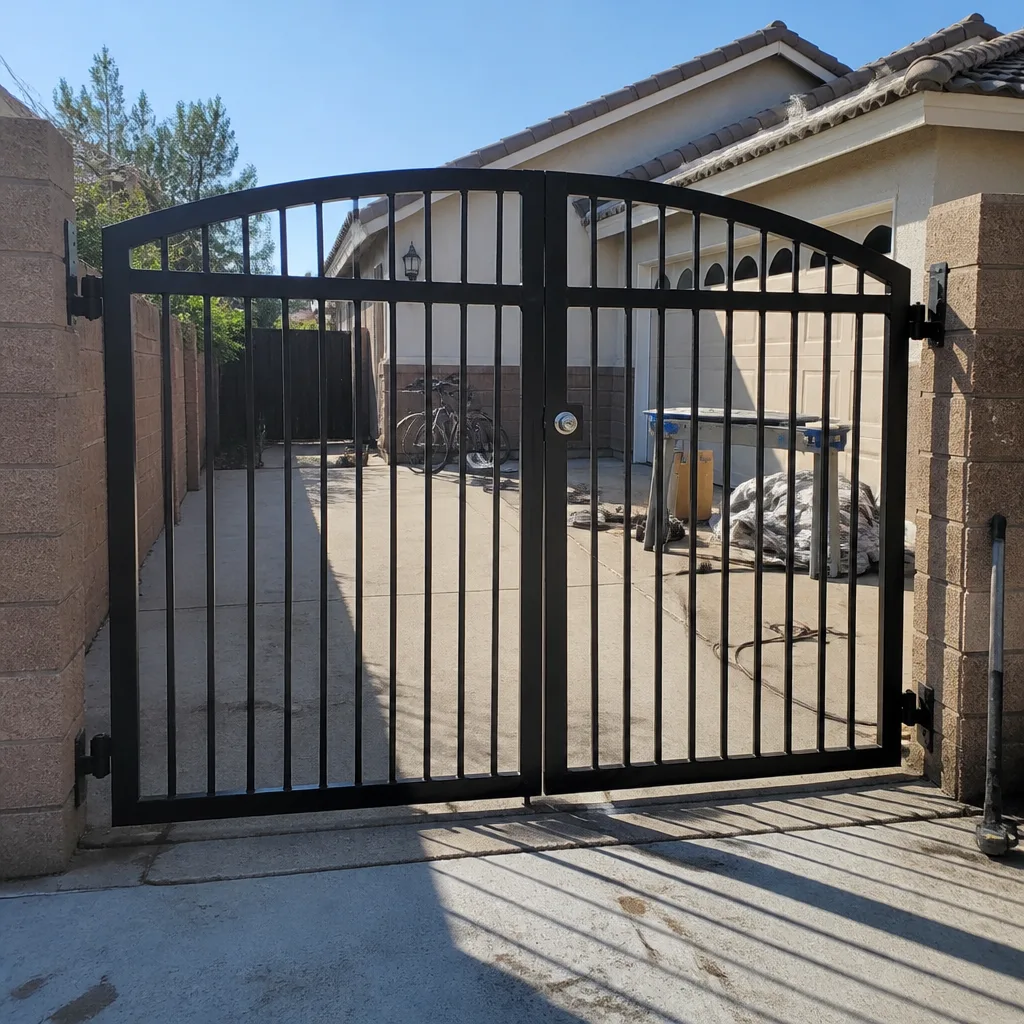
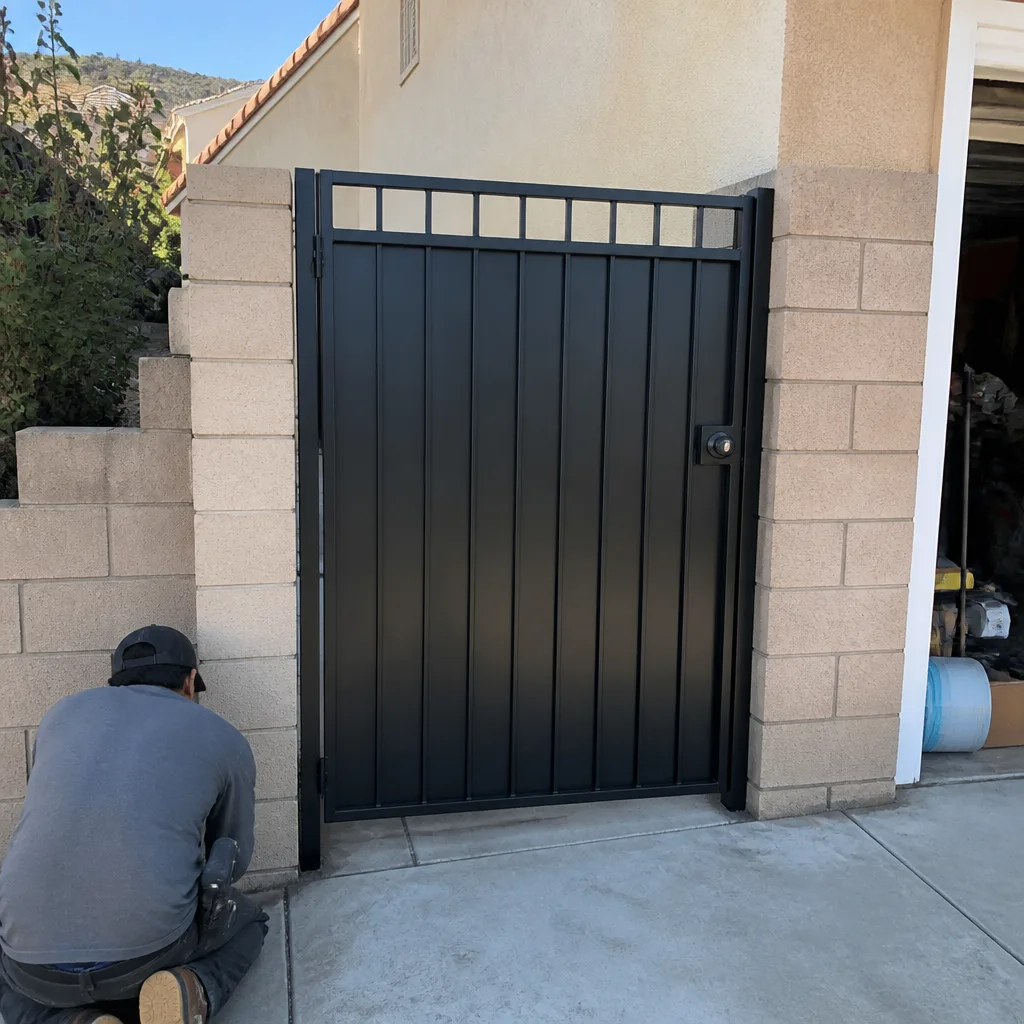 After
 Before
 After
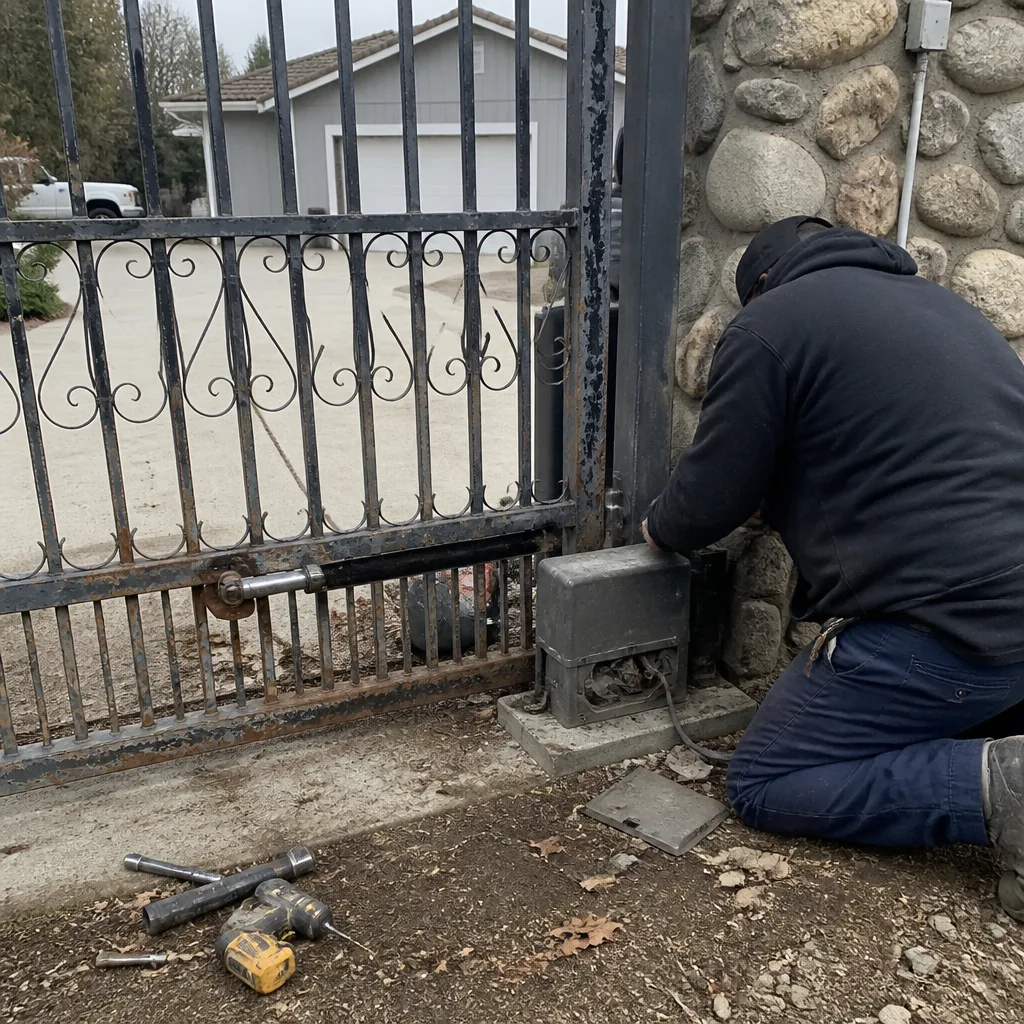 Before
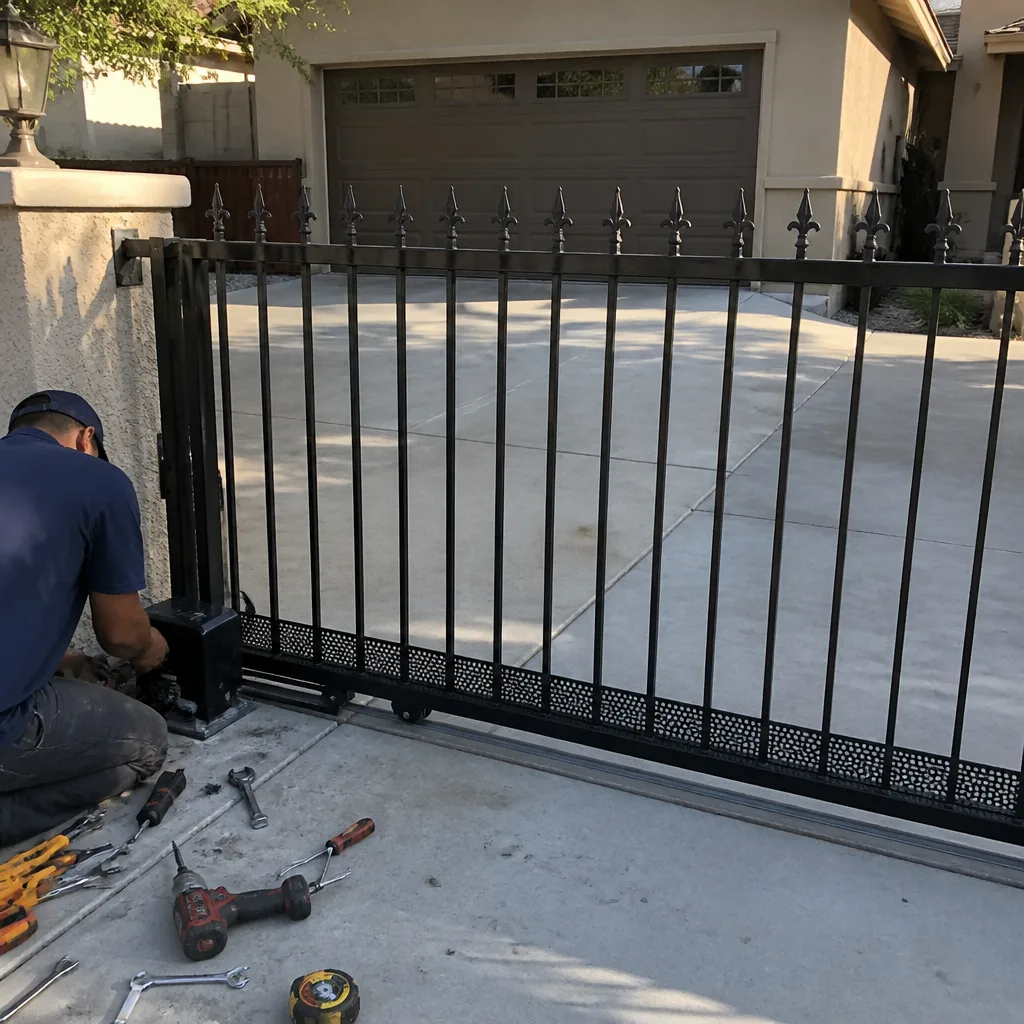 After